Quick start
This guide introduces cy's basic concepts in a step-by-step tutorial.
1. Starting cy
To start cy after installation, just run cy without any arguments. cy will connect to the cy server, starting one if necessary.
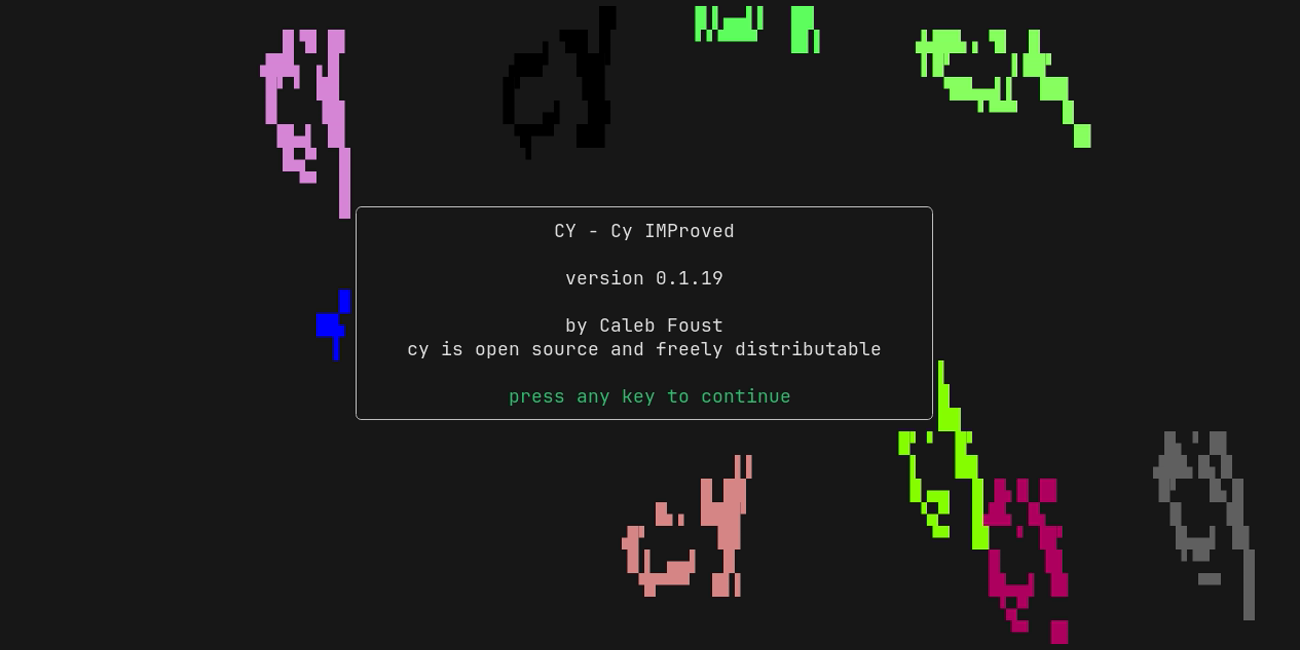
cy shows a splash screen on startup that looks like this. To clear it, press any key.
2. Using the viewport
When you first connect, cy creates a new pane and attaches to it. By default, it runs your default shell. cy centers the pane and fills the rest of the horizontal space with a patterned background. cy refers to the state of your screen as the viewport.
All actions in cy, such as creating panes and switching between them, are triggered by sequences of keys.
Here are a few you can try:
- To make the pane fill the entire viewport, type
ctrl+ag. (Repeat to center it again.) - To set the width of the pane to 80 columns, type
ctrl+a1. - To set it to 160 columns, type
ctrl+a2. - To increase the width by 5 columns, type
ctrl+a+. - To decrease the width by 5 columns, type
ctrl+a-.
3. Entering replay mode
cy's most important feature is that it records all of your terminal sessions in their entirety and lets you jump back in time and replay them at will. It has an interface called replay mode that is conceptually similar to tmux's copy-mode, but also gives you access to time controls.
You open replay mode for a given pane by typing ctrl+a p. You can also scroll up with the mouse if the pane's content is scrollable (such as when using a shell.)
Replay mode is powerful and complicated, but for basic usage you can move through time using the left and right arrow keys and hit space to play and pause. For more information, refer to the chapter dedicated to replay mode and the list of all of its key bindings.
4. Creating a new shell
To create a new shell, type ctrl+a j. This creates a new pane running your default shell in your current working directory. You can return to the old one with ctrl+l; this cycles between all of the panes in the current group. In cy, a group is just a container for panes or other groups.
Every group and pane in cy has a path, just like a file in a filesystem. The new shell you created has a path like /shells/3.
The collection of all groups and panes is referred to as the node tree. When you first start cy, the node tree looks like this:
/ (group)
├── /shells (group)
│   └── /2 (pane) <- you start here
└── /logs (pane)
And here's how it looks after you create a new shell with ctrl+a j:
/ (group)
├── /shells (group)
│   ├── /2 (pane)
│   └── /3 (pane) <- now you're here
└── /logs (pane)
When you are attached to a pane in the /shells group, ctrl+l cycles to the next sibling pane.
5. Creating a new project
Often, you will be doing some work in a single directory, like a Git repository. cy ships with a way to create a new group of panes for exactly this purpose. To use it, navigate to a directory and type ctrl+a n.
This creates two panes:
/projects/[base-name]/editor: A pane running the program specified by the$EDITORenvironment variable./projects/[base-name]/shell: A pane running your default shell (or the value of$SHELL).
[base-name] is the basename (a la the Bash basename command) of the directory in which you opened the project.
For example, if you type ctrl+a n while in a pane with the working directory /tmp/test-dir, [base-name] would be test-dir and the node tree would have the following structure:
/ (group)
├── /shells (group)
│   └── [...]
├── /projects (group)
│   └── /test-dir (group)
│       ├── /editor (pane) <- attached here
│       └── /shell (pane)
└── /logs (pane)
6. Switching between shells and projects
cy allows you to quickly jump between panes using a built-in fuzzy finder. Try it out by hitting ctrl+a ;, which presents you with a list of all of the running panes.
The controls should be familiar to you if you have ever used a fuzzy finder:
- Typing filters the list.
- Use
ctrl+jandctrl+k(or the arrow keys) to move up and down. - Press
enterto make a selection. - Quit without making a choice by typing
ctrl+coresc.
cy ships with a few different key bindings for choosing a pane:
ctrl+ak: Jump to a project.ctrl+al: Jump to a shell based on its current working directory.
7. Using the command palette
Like most modern applications, cy includes a command palette, which lets you search through and execute all of the available actions. You can access it by typing ctrl+a ctrl+p.
8. Quitting cy
You can kill the cy server by hitting ctrl+a q and detach from it (but leave the server running with ctrl+a d.